If the Auto approve and Auto submit options are not enabled, you must approve and submit records manually. You can approve individual records or approve a batch of records using bulk approve. You can also set a batch of records to not approved.
Attention. You should approve and submit records manually until you are confident that your data is structured correctly. That is, you do not get errors when submitting records.
How to approve records
Approve records manually as follows:
-
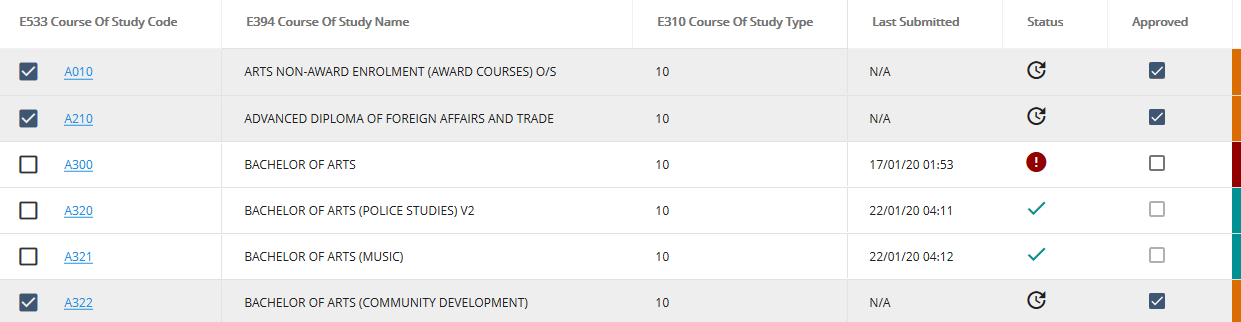
For each record to submit, view the data of the record to approve. The status icon indicates records that have errors or that do not meet data dependency requirements.
You can follow the link to view all the data of the record in a separate panel, such as the link for E5 3 3 Course of study code.
In the image Record status, records of the Courses of study data group with the statuses pending, error, and submitted OK. The pending records are selected for approval.
Record status 
-
Check the data of the record. If the data is OK, on the record select Approved
 and then save
  .
.Attention.
 A small triangle in the status bar indicates that the record has not been saved after making changes.
 -
Repeat for the other records that you want to approve.
How to bulk approve records
Bulk approve records as follows:
- Apply a filter to show only the records that you want to approve.
-
Go to
 (bulk approve) to approve the records in the filter.
Attention. Any records that have already been approved individually are not affected.
- Check the Approved status for the records changes to .
To set a batch of records to not approved, repeat the above procedure but go to ![]() (bulk unapprove).
(bulk unapprove).
How to submit records
Submit records manually as follows:
-
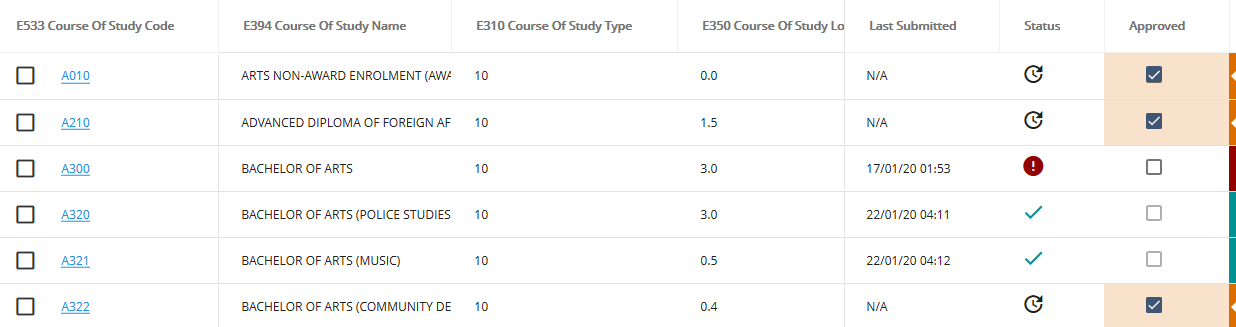
Select the approved
records to submit. Note that the status icon indicates records that have errors or do not meet data dependency requirements.In the image Approved status, records of the Courses of study data group are selected for approval and submission.
Approved status 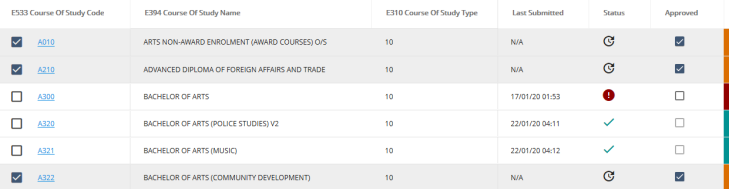
-
Go to
 to submit the records to acronym taxi and then wait a moment to check that the status of the records changes to
  - Submitted OK.
If the status icon indicates an error, hover on the icon to view the error details. You can then re-submit the record after correcting the errors.